{Click on any photo to view Full Size image}
Okay I just uploaded a few images of this tall Aussie girl along with an image of an unrelated building.
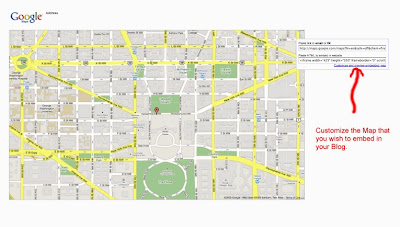
I will place a Google Map of the location and address of the building after its image. The other photos are just eye candy.


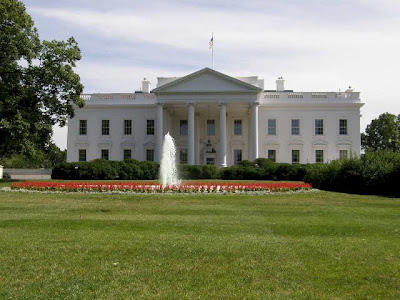
Okay here is the building located in Washington, DC

View Larger Map

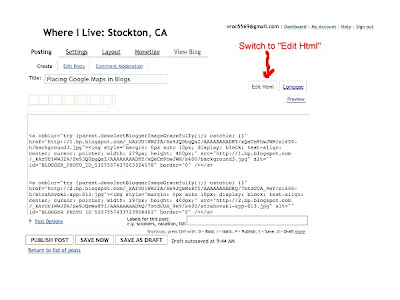
After I have loaded all of my photos. I switch from "Compose" to "Edit Html".
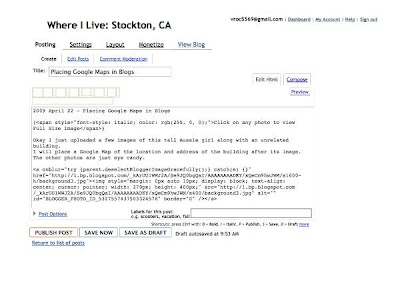
I then place a blank line between photos by hitting the "return key".
That way I can cut and paste the photos into the sequence that I want.
 Then I triple space where I wish to embed the Google Map in the Blog.
You MUST be in "Edit Html" mode to properly embed a Google Map because the Link is a bunch of HTML code.
 In another Window I have developed the map. Usually it is an entire Ride Route, but for this example it is just a spot location. I then "play with" the "Customize and preview the embedded map" in Google.
Once I have the map finalized I then Copy the link that is in the box "Paste HTML to embed in website". {note: While you are building your Blog the map within it will simply flash "loading". Ignore this. The map will show up when you View the Blog.}
 After ALL of the images and maps are in place. I publish the Blog and view it without narrative.
When all is how I want the Blog without narrative I then Edit the Blog and write in the narrative and photo captions. Then I Publish the Blog again.
For those really familiar with Google Maps my Ride Route maps can be viewed with Street View and you can take a Virtual Ride. But some roads in Google do not have a Street View. I doubt if the one lane portion of Knoxville-Berryessa Road has a Street View. :-)
~fin

No comments:
Post a Comment